Below are the steps you should take to add the Type to Learn app to your student’s Portal page in ClassLink.
Adding Type to Learn to LaunchPad
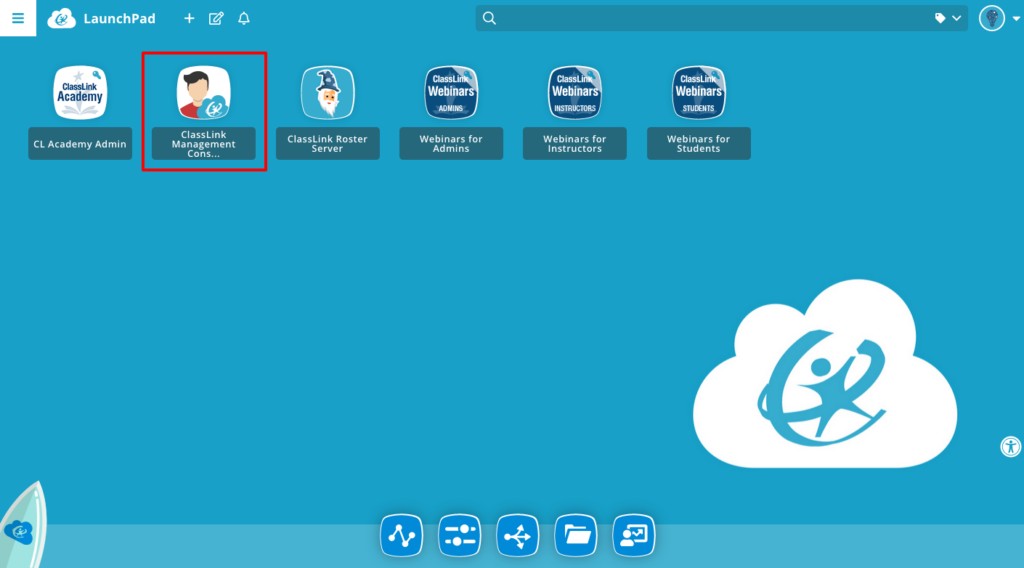
Step 1: After logging in to your Admin account, navigate to the Management Console.
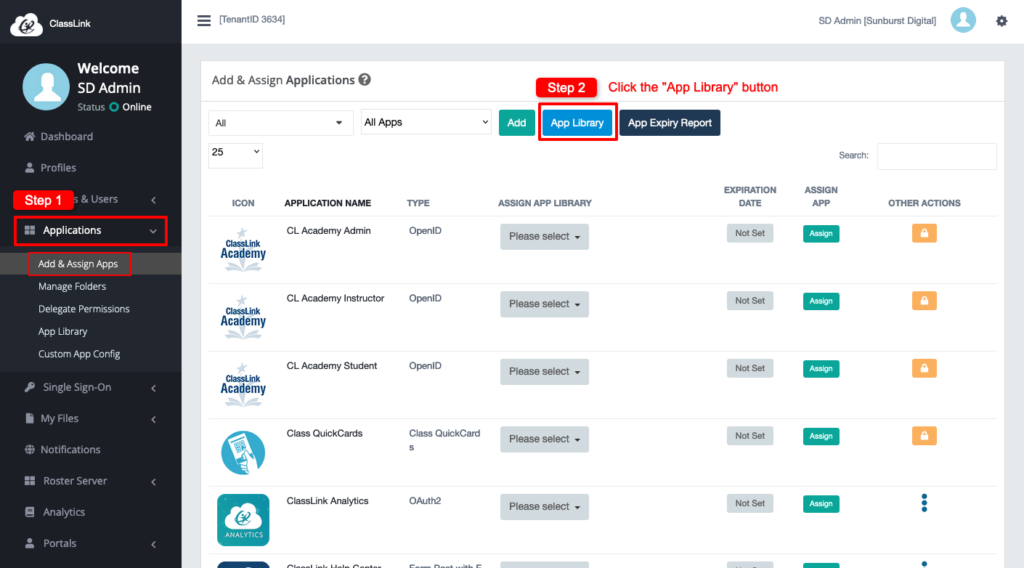
Step 2: Navigate to the Applications > Add & Assign Apps page. Then, click “App Library”.
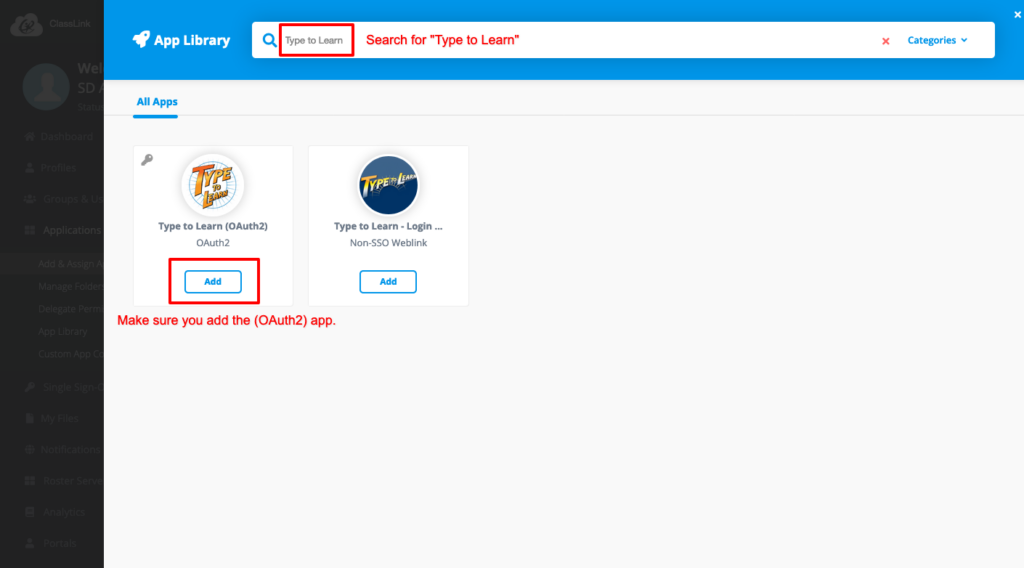
Step 3: Search for “Type to Learn” and click the “Add” button under the “Type to Learn (OAuth2)” app
Once the app has been added, you should see it on your list of available applications on the Add & Assign Applications page.
Connecting Your Roster Tenant to Type to Learn
Step 1: Open Your ClassLink Roster Server console

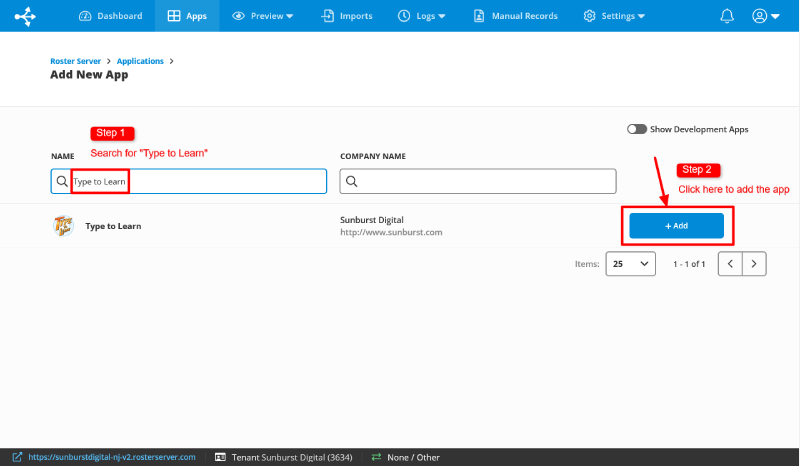
Step 2: Navigate to the Apps page and click the “+ Add” button
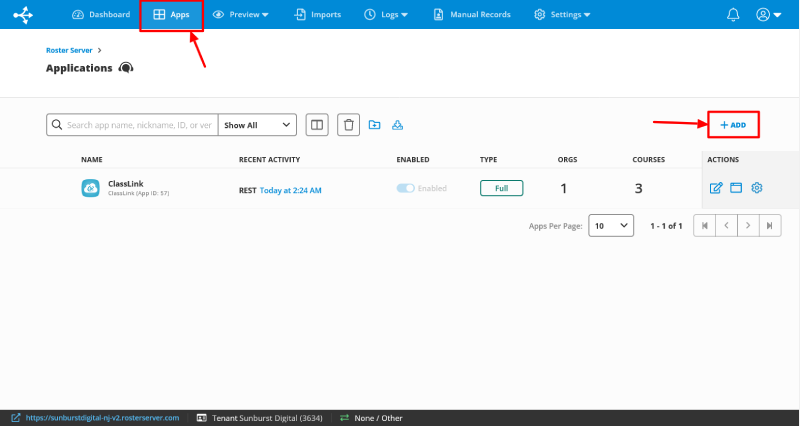
Step 3: Search for “Type to Learn” and then click the “+ Add” button
The next step would be to create sharing rules to indicate what student data should be shared with the Type to Learn app.
See our recommended sharing settings for ClassLink.